Cannabis
How to Roll a Cross Joint Like a True Stoner
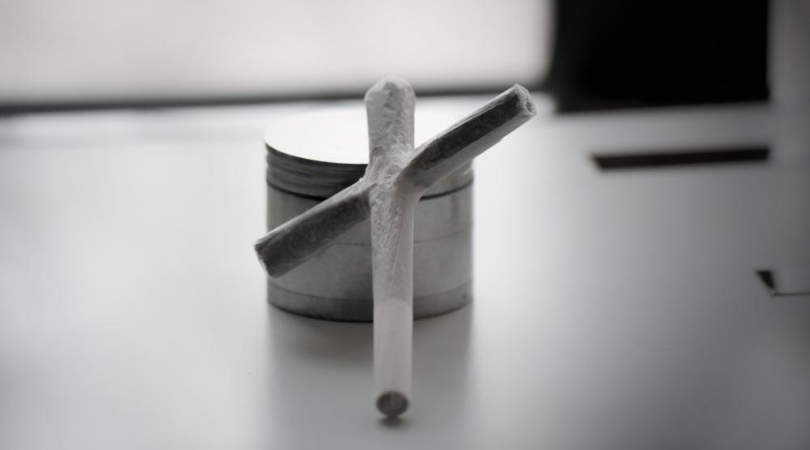
If you want to be a true stoner, then you need to know the right way to roll a cross joint. Knowing how to do this is not that hard, and once you know how to do it, you can show off your new skill to your other smoker friends. It is fun to enjoy as a group. Keep reading to find out the right way to roll your joint.
Supplies You Will Need
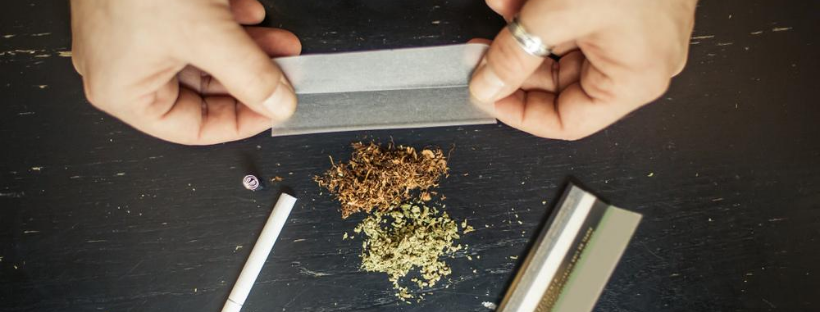
The supplies you should have are similar to those that you will need to create a regular joint. Of course, you will need more of them, as well as some items that you do not have in a normal kit. The items include:
- A grinder
- Your choice of cannabis
- Pin, wire, or needle
- Both large and small rolling papers
- Scissors
- Piece of cardstock
1. Rolling a Fat Joint
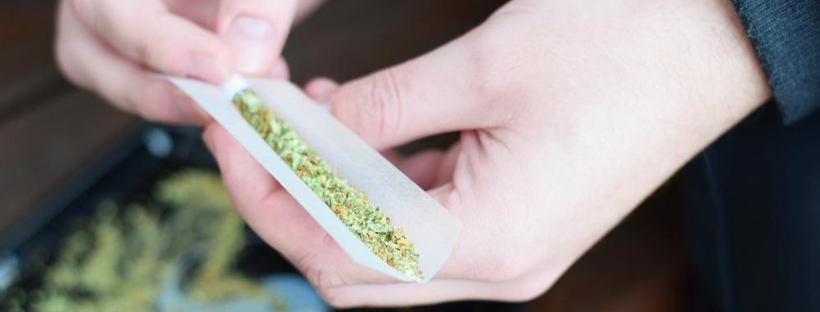
First, you will take the larger of the rolling papers and create a bigger joint than the one you would use for normal smoking. This is not just about the length, but the thickness as well. However, if this is your first time trying a joint, you will find that having more to work with is easier.
Feel free to make the fat joint so it looks like a blunt more than a typical joint. Once you know how to put this together, you can start to make it smaller if you want to. When you roll it, make sure to leave a bit at the end to twist it. That will make it easier for you to light when it is time to smoke it.
2. Place a Bit of Cardboard in the End
Place a bit of cardboard at the end of the joint, which offers you a mouthpiece so you can burn it to the end, using up all of your cannabis. Cut a bit of cardboard a few centimeters long. You can tailor it to your needs. Many people choose not to use cardboard, and you can experiment to see what you like the best.

3. Make the Thin Joint
Using a small rolling paper, create a thinner joint for the cross piece of the joint. It is best to make it as thin as you can, so it is easier to do the next steps. Make sure that there is an empty twist at either end of the joint, so it is easier to smoke later on.
4. Make a Hole in the Fat Joint
After you have created the thin and fat joints, use your needle to punch a hole in it around three-quarters up. Don’t rush this step to avoid tearing it. You can also use a bit of wire or a pin. When the needle is in, make the hole wider. It does not need to be large. It only has to be big enough for the thin joint to go in.
5. Make a Hole in the Middle of the Thin Joint
This is an important step, which you should not forget. Poke a hole in the middle of your thin joint. Work it a bit so it can become bigger. This should not be as big as the hole you just made in the bigger joint. In fact, it should be only about twice as big as the needle that you used to make the hole.
This hole will let air flow from the tip of your large joint to the end. If you do not add this hole, your finished joint can’t be smoked. It will only burn when you light it, and you will not get any smoke in your lungs, which will waste your supplies and cannabis.
If you are concerned that your cannabis will fall out of the thin joint as you move it through your fat joint, you can wait to add the hole to the thin joint until you are almost ready to put the middle in the larger joint. This reduces the distance that you have to go, and you will not have to worry about the cannabis falling out. Doing some experimenting can help you figure out the right order of the steps to take.
6. Put the Thin Joint in the Fat Joint
Now you are ready to put the cross joint together. Place an end of the thin joint through the fat joint’s hole. Now work the thinner joint through the fatter joint with pushing, pulling, and rotational movements. Do not do this too fast or you might end up ripping one of your joints. When the hole you poked in the thin one is in the fat one, you will have inserted it enough. This hole is for air to flow, so try to get it to the center of the fat joint to allow for good burning.

7. Seal and Reinforce the Joint
To make sure that you can smoke the marijuana joint, get a couple of rolling papers and some scissors. It does not matter how large the papers are now. Cut the glued portion off the papers. Now wrap them around the part where the thin joint moves through the fatter one. That gives the whole thing more structure and keeps it airtight. If you do not do this step, then you might leak out smoke and air instead of getting it in your mouth.
Closing Thoughts
Once you have sealed the cross joint using your rolling paper glues, you can light it and start smoking. Contrary to popular belief, you do not need to have two lighters and two people to get the joint going. All you have to do is light the empty twist on your fat joint and then light the twisted ends of your thinner joint. Take smaller pulls constantly. With the empty twists, they will burn better than the weed, meaning they will stay lit. Give a cross joint a try to see if you enjoy it. If not, there are many other ways to enjoy cannabis.


